We started by using a prybar and hammer and ripping up all the old tiles. They were stuck down really good after being on there for many years.

There was a piece of rotten flooring right beside the door. We cut out a new piece of plywood and replaced that small section.

This was the section by the bathroom. The tiles were impossible to get up in this one spot so we cut out a hole with a jigsaw. We found that the floor wasn't rotten at all - it had already been replaced before but the studs were not screwed to anything, they were just resting on the metal subfloor. We put new studs in and screwed them to the other ones.

Then we replaced the plywood with a new piece (even though the old one wasn't rotten it was full of screw holes and cracked).


Next we used a belt sander to get rid of all the glue and paper residue from the old tiles. It was sanded down to the bare wood to allow for good adhesion of the new tiles.

The little rotten piece by the door was replaced and some floor leveler to even it out and fill in the cracks.

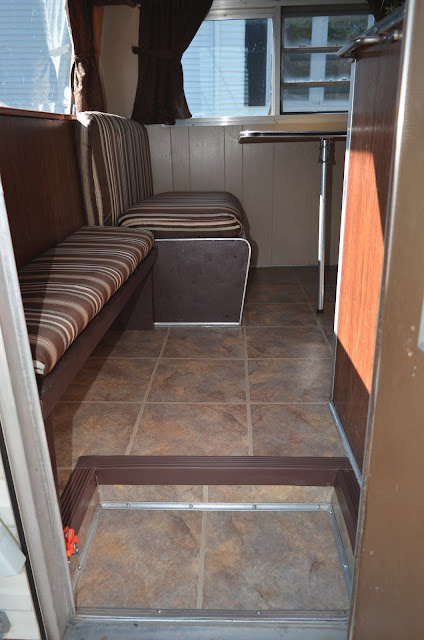
After we let the leveler dry for a day or so, we started sticking down the new tiles. Below are pics of the finished floor:
One more project complete!


